
Tips for Excel, Word, PowerPoint and Other Applications
Creating Default Excel Workbooks and Worksheets
Why It Matters To You
I cant think of too many people who use the default workbook, as is. You inevitably change column widths, numerical types, add titles, etc to fit the type of data you typically work with. Sometimes you just change formatting because you dont like the defaults (e.g., bottom alignment within a cell). This also helps automatically include critical information that we often forget (e.g., tab title, page numbering, file name, etc.).
How To ...
Ever wonder how some people get their default spreadsheets to start with different formatting from yours? Tired of having to format every new spreadsheet you start up? Its pretty easy to customize your spreadsheet with different fonts, column widths, headers and footers, etc.
You can customize both workbooks and individual worksheets.
- Workbook. The workbook is the default document (usually a set of worksheets) that is presented when you start a new Excel file.
- Worksheet. The default worksheet file, which can also consist of multiple worksheets, presented whenever you choose to insert/add a new worksheet to an existing file.
Step 1. Format Workbook or Worksheet.
Open up a default workbook and format it the way you want. At the end of this Tip, Ive also outlined how to format multiple sheets simultaneously. In my workbook book, Ive changed the following:
- Cells globally formatted as top aligned, Arial, 10 point, grid lines turned off
- Column A formatted as column width = 3, bold
- Row 1 formatted as 14 point, bold
- Added a custom footer, Page 1 of ?, Confidential, File Name in Arial, 8 point
You can also format font, cell alignment, color etc. If you want, each page can be formatted differently depending on your typical needs.
Step 2. Save as a Template in the /XLStart folder
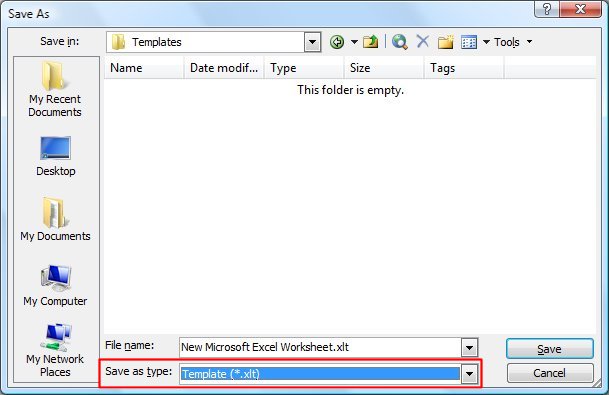
Start by saving as a template. Click Save, then Template (*.xlt) in the Save as Type drop down box.
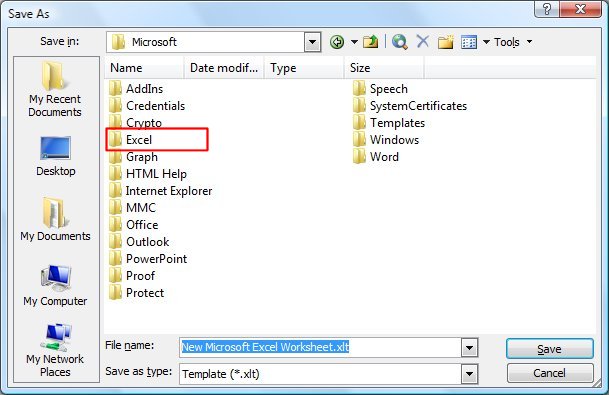
Unfortunately, /Templates, the default folder for saving templates, isnt where we want to save our new Excel template. We want to save it in /XLStart. To get to the XLStart folder, you will have to rise up a level to the /Microsoft folder and then look for the /Excel folder.
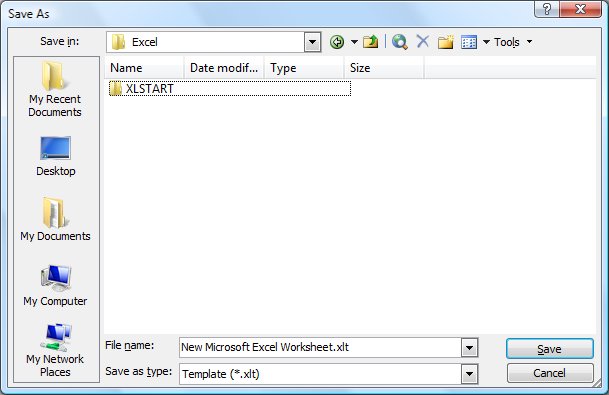
Double click on the /Excel folder. You should only find one folder inside, /XLStart. Double click on /XLStart to open the folder.
The last thing you need to do is name your workbook book.xlt. If youre only saving the worksheet template, then it should be named sheet.xlt
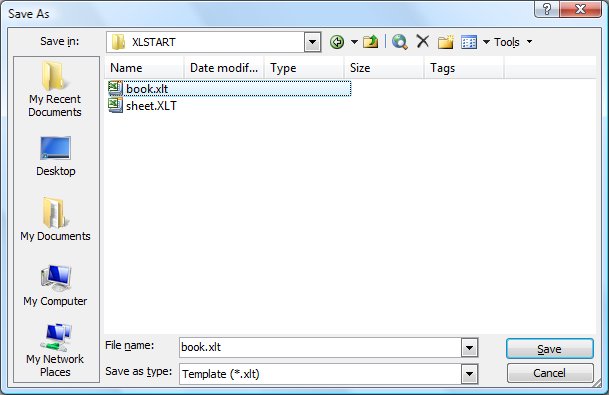
Now click Save and open up a new document to make sure you did it right.
Notes
| Last updated | 9/3/07 |
| Application Version | Excel 2003 |
| Author | Michael Kan |
| Pre-requisites | None |
| Related Tips | None |